At first I was hesitant towards VMware’s Virtual Volumes (VVols) due to growing pains with Virtual SAN’s initial release and the benefits of Nimble Storage’s VMVision providing VM-level analytics; however, after getting my hands dirty to validate deployment steps, I have been won over. VVols is very simple, policy driven storage management; easily create your VM Storage Policies to match the varying requirements then apply the policies to the virtual machines for repeatable, compliant deployments.
Nimble Storage Configuration
First we need to create a new container (folder) for the the Virtual Volumes to reside in. In the Nimble Storage array user interface, navigate to Manage > Volumes. Next we need to click on the New Folder… button.
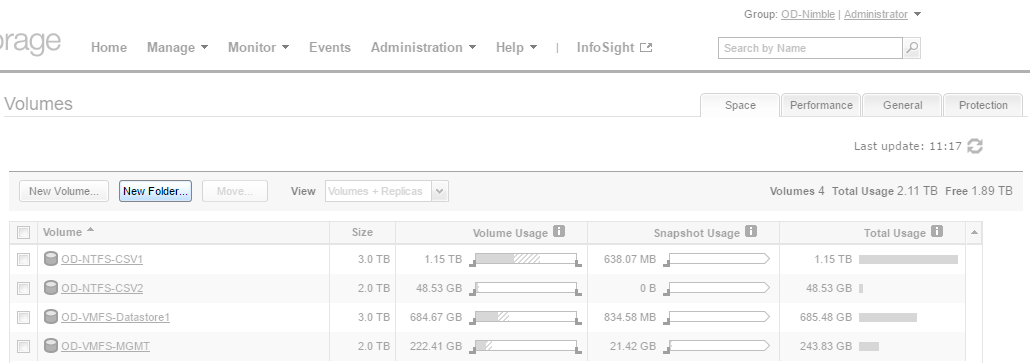
Enter a descriptive name for the container in the Name field, and optionally include a description. In the Thresholds section, you can choose to set a limit on the consumed capacity of the folder; important for preventing systems from consuming all of the capacity of the array, placing volumes into read-only mode. Lastly, in the Third Party Management section, change the Management Type to VMware Virtual Volumes (VVols) and select the appropriate vCenter Server before clicking on the Create button.

vSphere Configuration
Now we need to navigate to the vSphere Web Client. Navigate to Storage, expand the Data Center, and add a New Datastore.
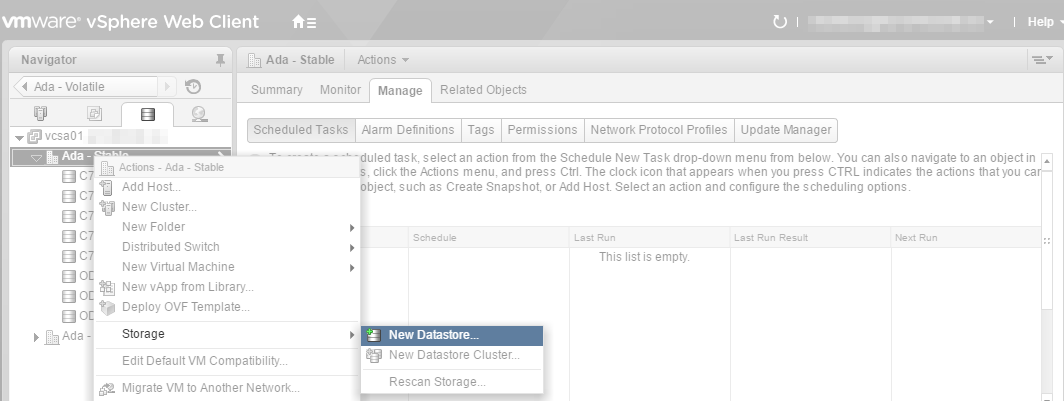
Select VVOL for the type of datastore to create then click the Next button.

Enter a descriptive Datastore name, select the appropriate Backing Storage Container then click on the Next button. If the backing storage container is not listed, rescan the hosts for storage and wait–rinse and repeat until the device is listed–the mistake I made the first time deploying VVols was not being patient enough, as it took vSphere about 5 minutes to discover the device.

Select the vSphere hosts that will have access to the VVols container before clicking on the Next button.

Review the details of the VVol container then select Finish.

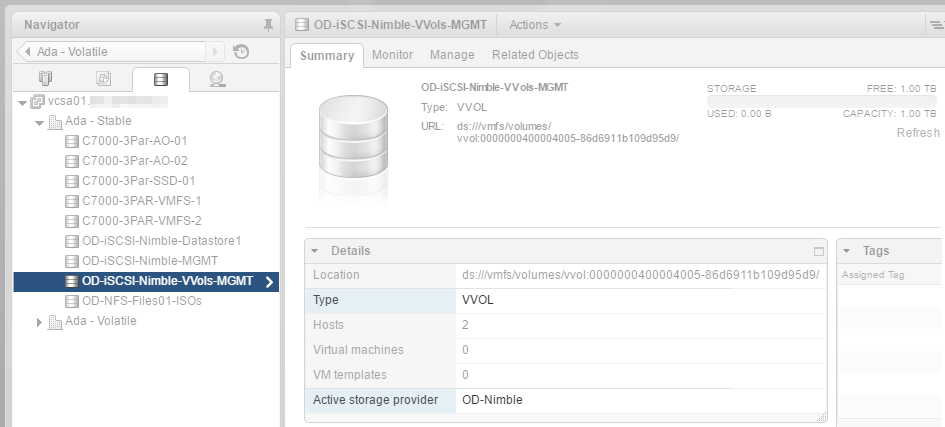
Now we see the VVols container included in the list of datastores.
VM Storage Policies
Now for the fun stuff! Navigate to Policies and Profiles within the vSphere Web Client and select VM Storage Policies. Create a new VM Storage Policy, select the appropriate vCenter, and enter a descriptive name for the VM Storage Policy.
Change the Rules based on data services dropdown menu to NimbleStorage. Begin adding new rules to match the requirements of the VM. Rules include:
- Deduplication
- All-Flash
- Application Policy
- Data Encryption Cipher
- Snapshot Protection
- Replication
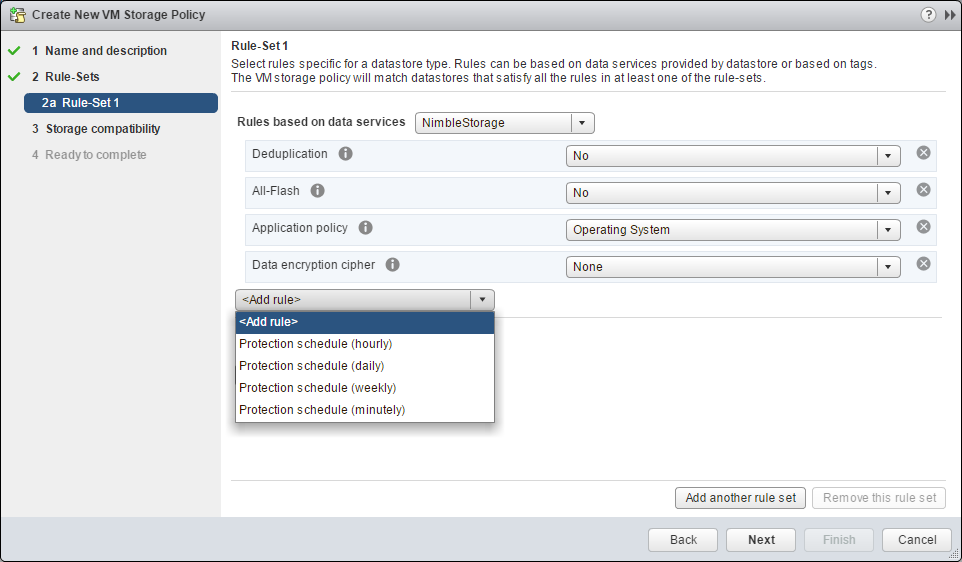
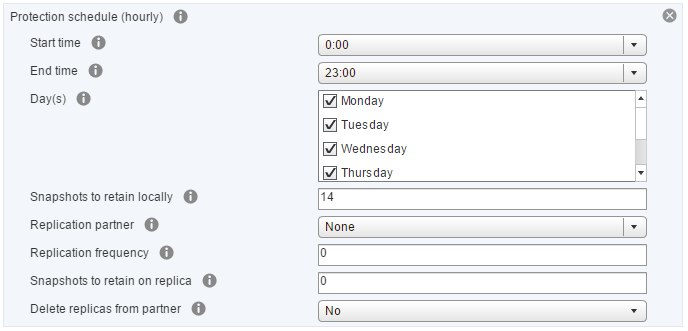
Below image shows the advanced snapshot and replication rules that can be configured with Nimble’s implementation of VVols.
After you have selected and configured the desired rules, continue on through the wizard and validate the compatible storage.

VVols in Nimble Array UI
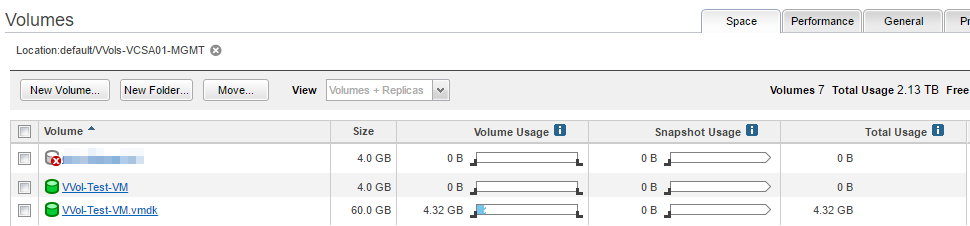
Navigating back to the Nimble Storage array user interface, we see the virtual volumes for a newly created virtual machine.
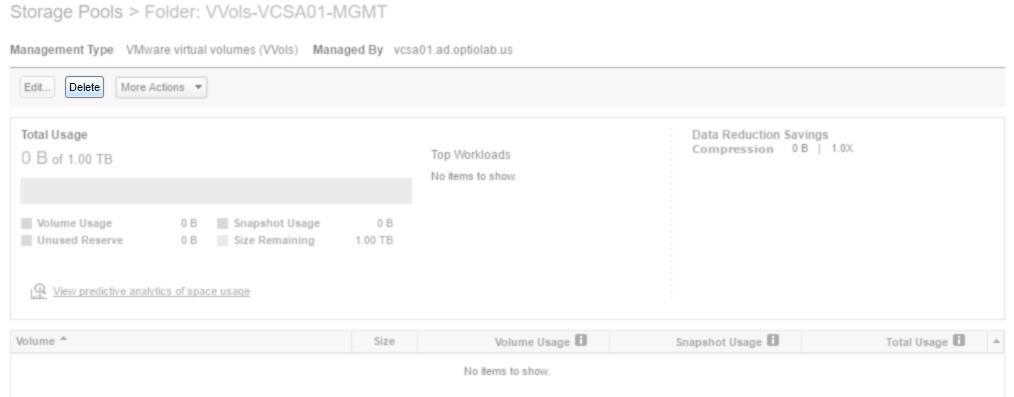
Deleting a VVol Container
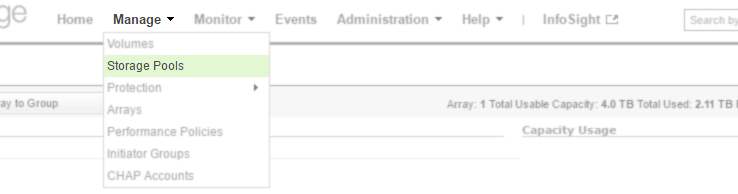
To remove a VVol container or volume folder, navigate to Manage > Storage Pools.
Select the desired Storage Pool from the list. Our demo here is only of a single Nimble array, so we only have the default Storage Pool.

Select Folders from the View By options then select the Volume Folder.
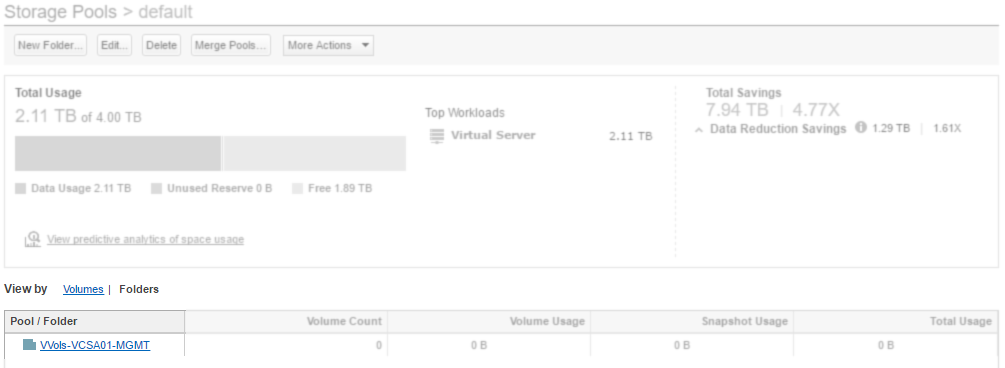
To delete the volume folder, click on the Delete button and confirm the operation.
Summary
That concludes the brief introduction to VMware Virtual Volumes (VVols) with Nimble Storage arrays. Expanding on the VM Storage Policy example, you can see how we can convert traditional storage management to a easy to use, compliant, and automated approach.


Leave a Reply